Setup
Building the Engagement Foundation
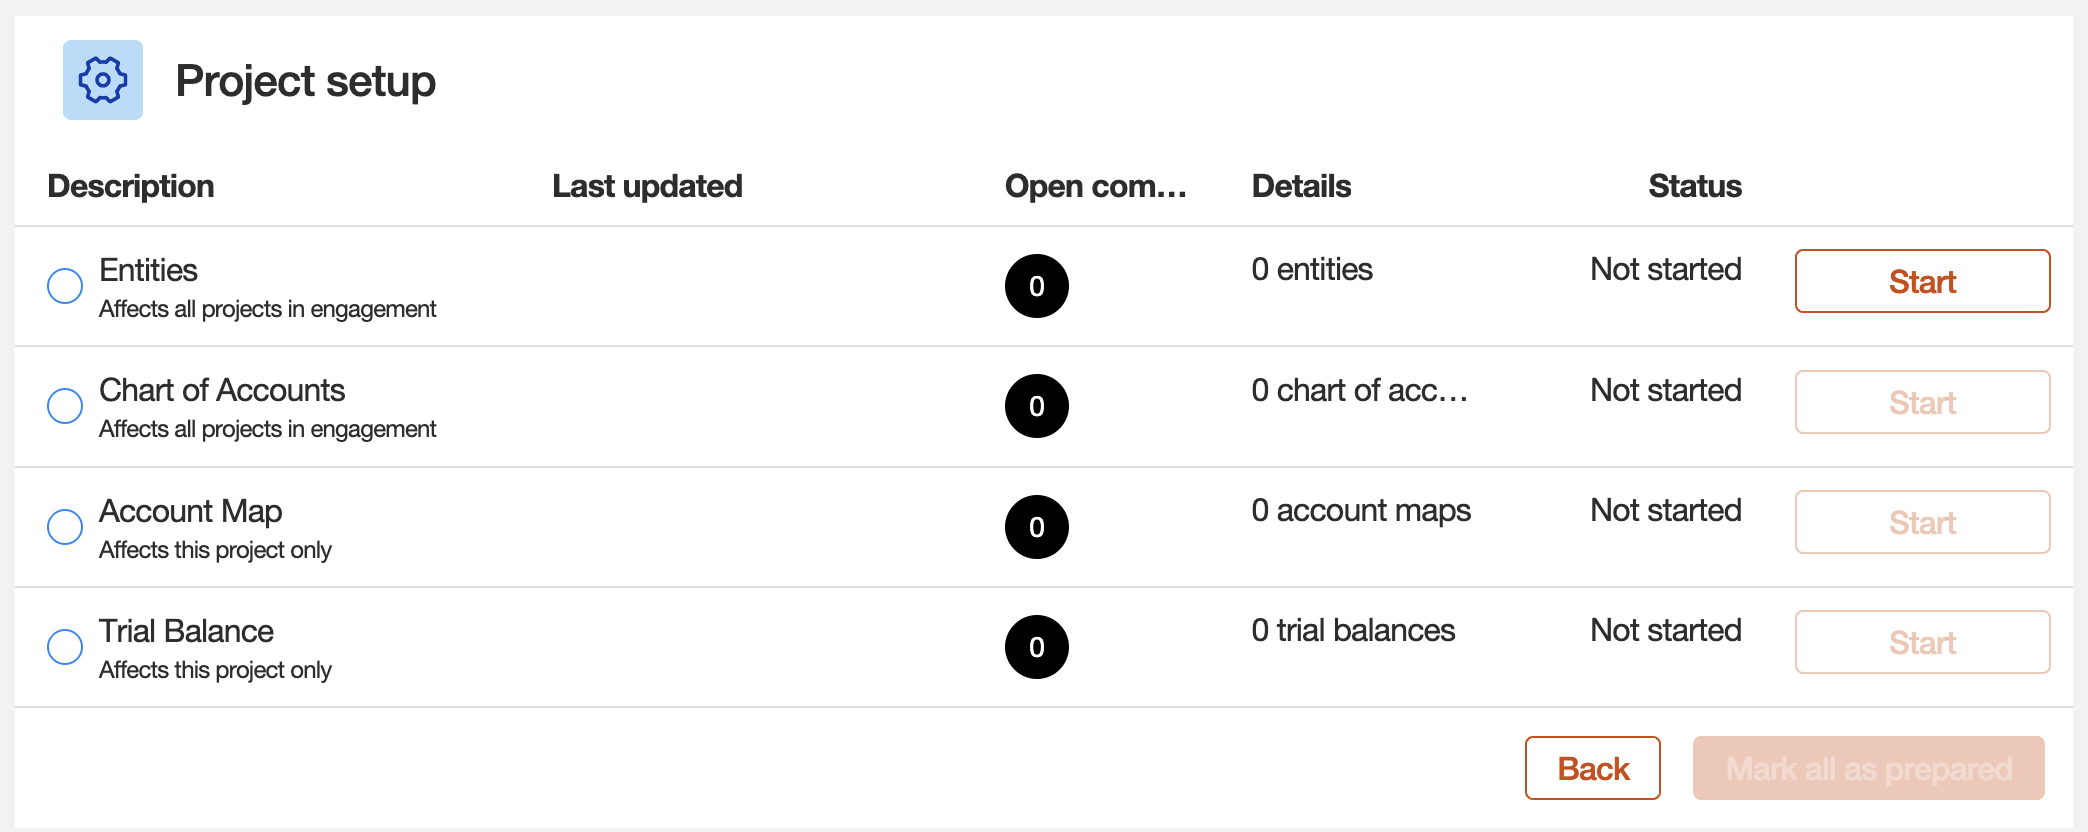
Project setup is the critical first phase after creating an engagement. This process establishes the core data structures—Entities, Chart of Accounts, and Mappings—that will power all downstream calculations and adjustments. Following these steps carefully ensures data integrity and a smooth workflow.
The Setup Workflow
The setup process follows a logical, four-step sequence within the project workspace. You must complete each step before moving to the next.
-
1. Entities
Define the legal entities and reporting units for the engagement.
-
2. Chart of Accounts
Import the client's complete list of accounts.
-
3. Account Maps
Link client accounts to the standard tax taxonomy.
-
4. Trial Balance
Import the period-end balances for all accounts.
1. Entities
This step defines the legal structure of the engagement.
System Bug
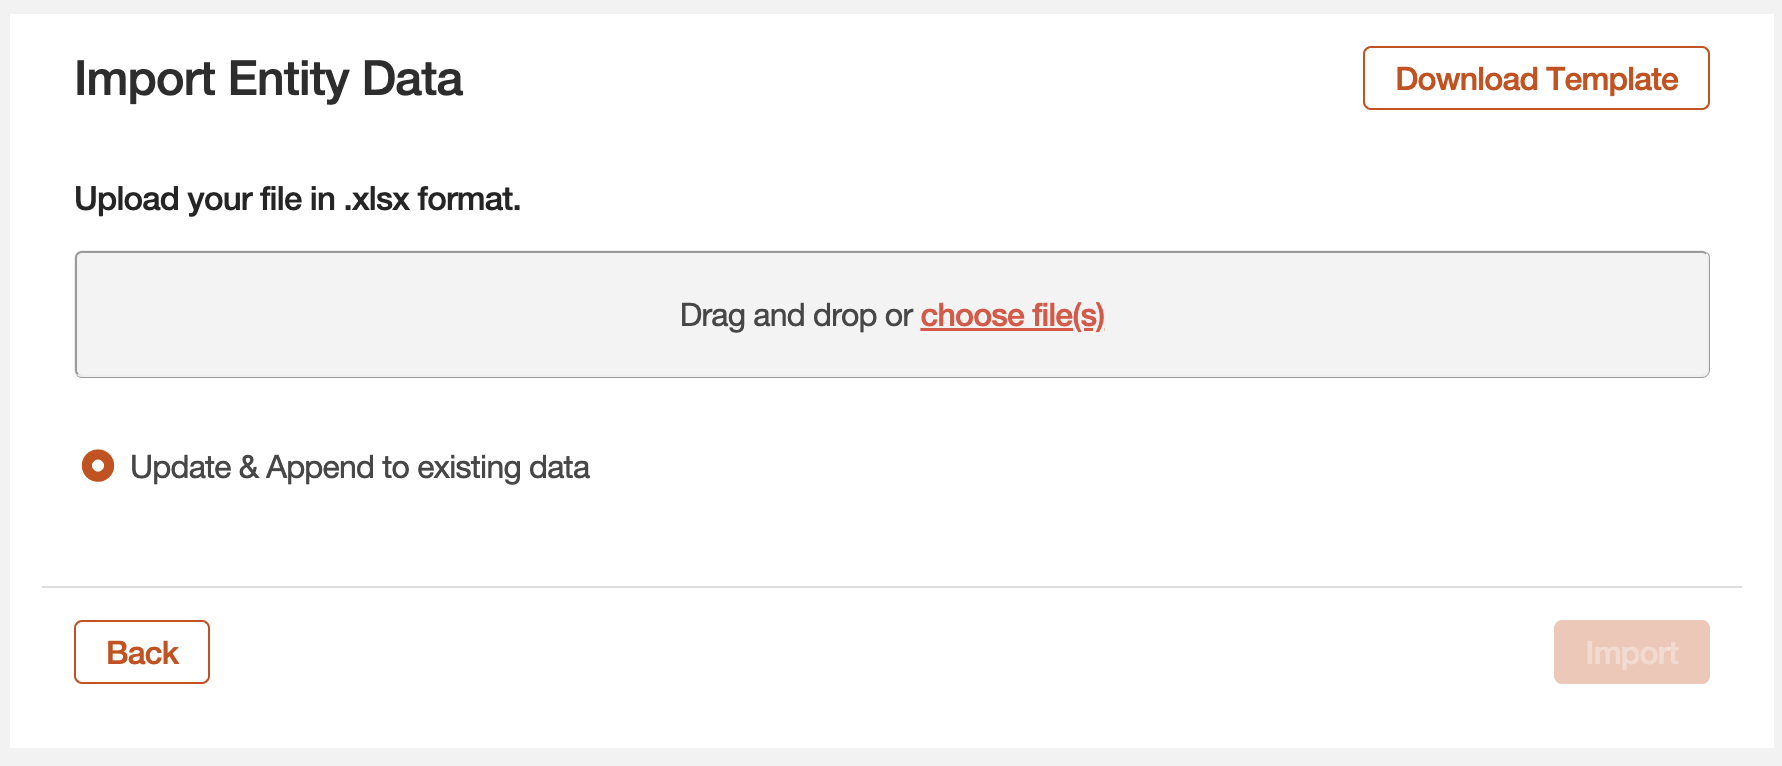
The ability to add entities via a modal pop-up does not appear since the platform consolidation. You must use the template import process. The option to manually add or edit entities will only appear after at least one entity has been imported via the template.
Workflow:
- Click Download Template.
- Complete the entity information in the Excel file.
- Drag and drop or choose the file to Import.
Template Fields
- Reporting Period: This typically auto-populates when using the modal; (unavailable due to system bug). Ensure that it matches the period defined during the initial project creation.
-
Reporting Units:
- Create a new Reporting Unit with a clear name and code (e.g., entity codes). Do not use the EIN as the code.
- Keep the
Form TypeandJurisdictionat their default settings ("Corporate", "USA").
Understanding Reporting Units
A Reporting Unit should be created for the lowest level at which a trial balance is received. Think of it as the unique identifier that aligns to a single locator in OneSource. For example, a parent company with two disregarded entities (DREs) that consolidate into one trial balance would share the same Reporting Unit.
2. Chart of Accounts (COA)
This step builds the master list of every potential account in the client's general ledger.
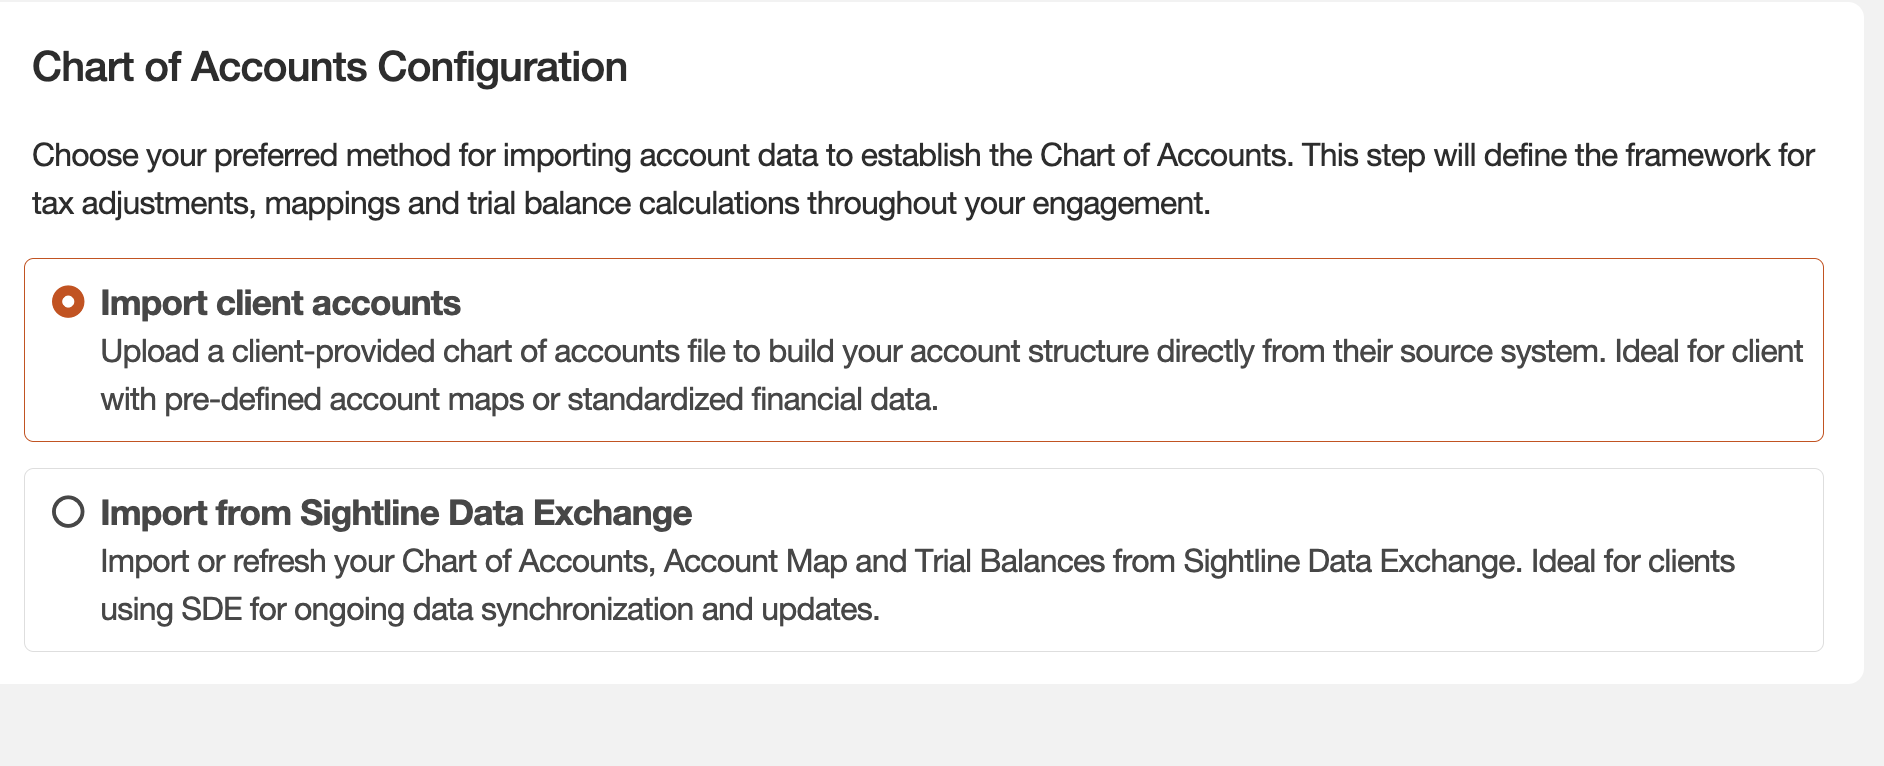
- Select the Import client accounts option.
- On the next screen, click Download Template to get the required
.xlsxfile.
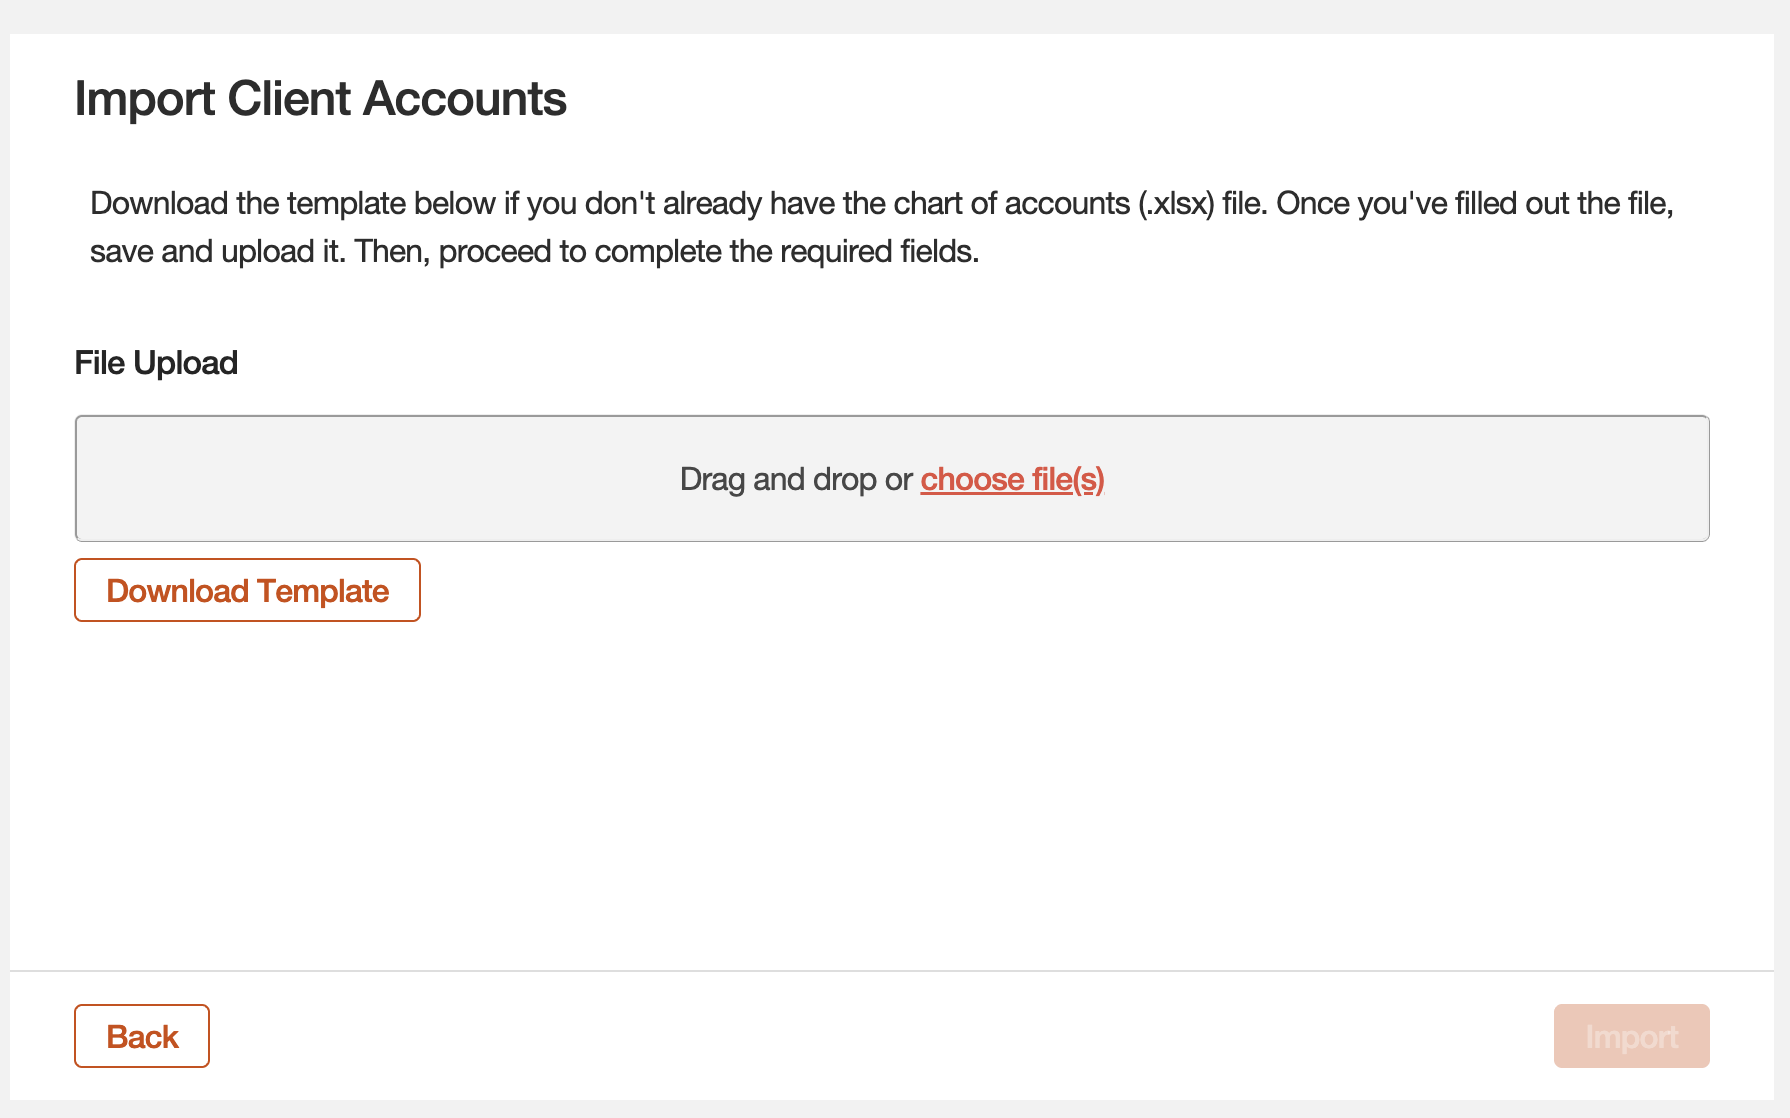
- Complete the template columns and import the file.
Template Columns
-
Account Number / Description: Enter as provided by the client.
-
Account Type & Natural Balance: Assign the appropriate
Account Type. TheNatural Balanceis a fixed value based on this type.-
Account Type Natural Balance Current Asset Debit Non-Current Asset Debit Current Liability Credit Non-Current Liability Credit Equity Credit -
Account Type Natural Balance Operating Income Credit Cost of Goods Sold Debit Other Income Debit Other Expense Debit
-
-
Tax Sensitive
System Bug
Due to a system bug following the platform consolidation, all accounts must be marked 'Yes' for Tax Sensitive. If an account is not marked as sensitive, tax adjustments associated with that account will not populate correctly in later steps.
Tips
Using AI:
For initial year engagements, you can significantly accelerate this process. Paste the client's account list into a tool like ChatPwC (using the latest Opus or GPT Pro model) and ask it to suggest both the Account Type and the corresponding Natural Balance for each account.
Using Excel:
Alternatively, you can automate the Natural Balance column directly in Excel. Create a small legend mapping each Account Type to its balance (Debit/Credit). Then, use a function like XLOOKUP to populate the entire column instantly. For more details on this and other functions, refer to the Excel guides in the practitioner tool-kit.
3. Account Maps
This step connects the client's COA to the firm's standard tax chart of accounts (taxonomy), which drives the automation of tax adjustments.
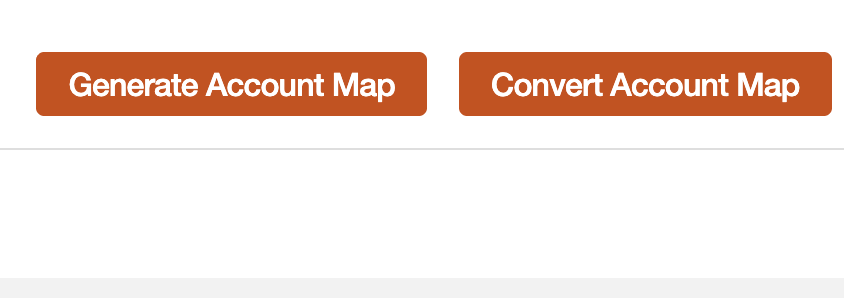
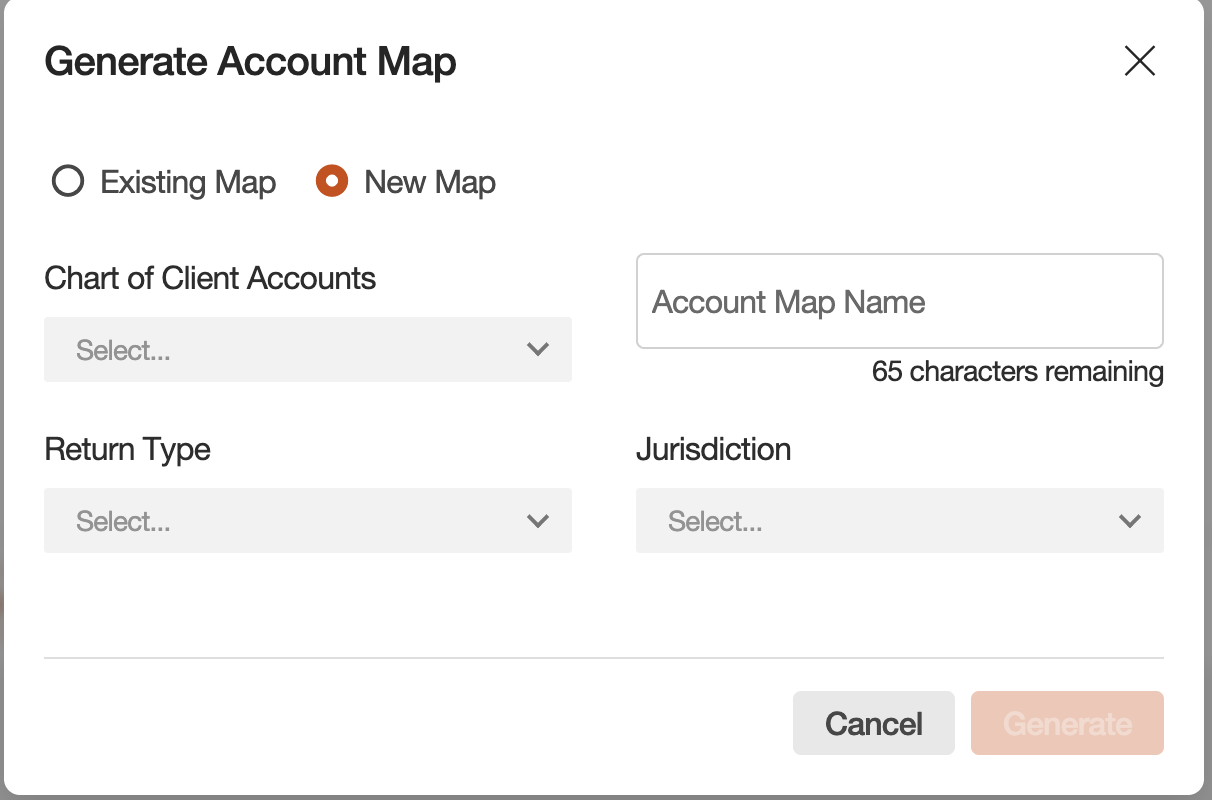
- Click Generate Account Map. A dialog box will appear.
- In the "Generate Account Map" modal, select New Map and choose the Chart of Client Accounts you just uploaded.
- Fill in the remaining details (Account Map Name, Return Type, etc.) and click Generate.
Critical Review Required: Mapping is the Engine
The account mapping review is one of the most critical and underrated tasks in the entire process. The map is the engine that runs the tax adjustment machine. If an account is mapped incorrectly, the system will either calculate the wrong adjustment or miss it entirely.
-
Multi-Level Review
For initial year engagements, the mapping must be reviewed in detail by the Senior Associate and the Manager/Senior Manager before proceeding.
-
Export for Efficiency
Use the Export to Excel function to review the full map. This allows for easier filtering, sorting, and commenting.
-
Compare to Prior Year
If available, compare the current year's mapping against prior year classifications to quickly spot deviations or new accounts.
-
Involve the Client
For complex or very large trial balances, consider providing the client's accounting team with the exported map for their review and confirmation.
-
Subsequent Years
In future years, the review can focus primarily on new accounts added to the client's COA since the last engagement.
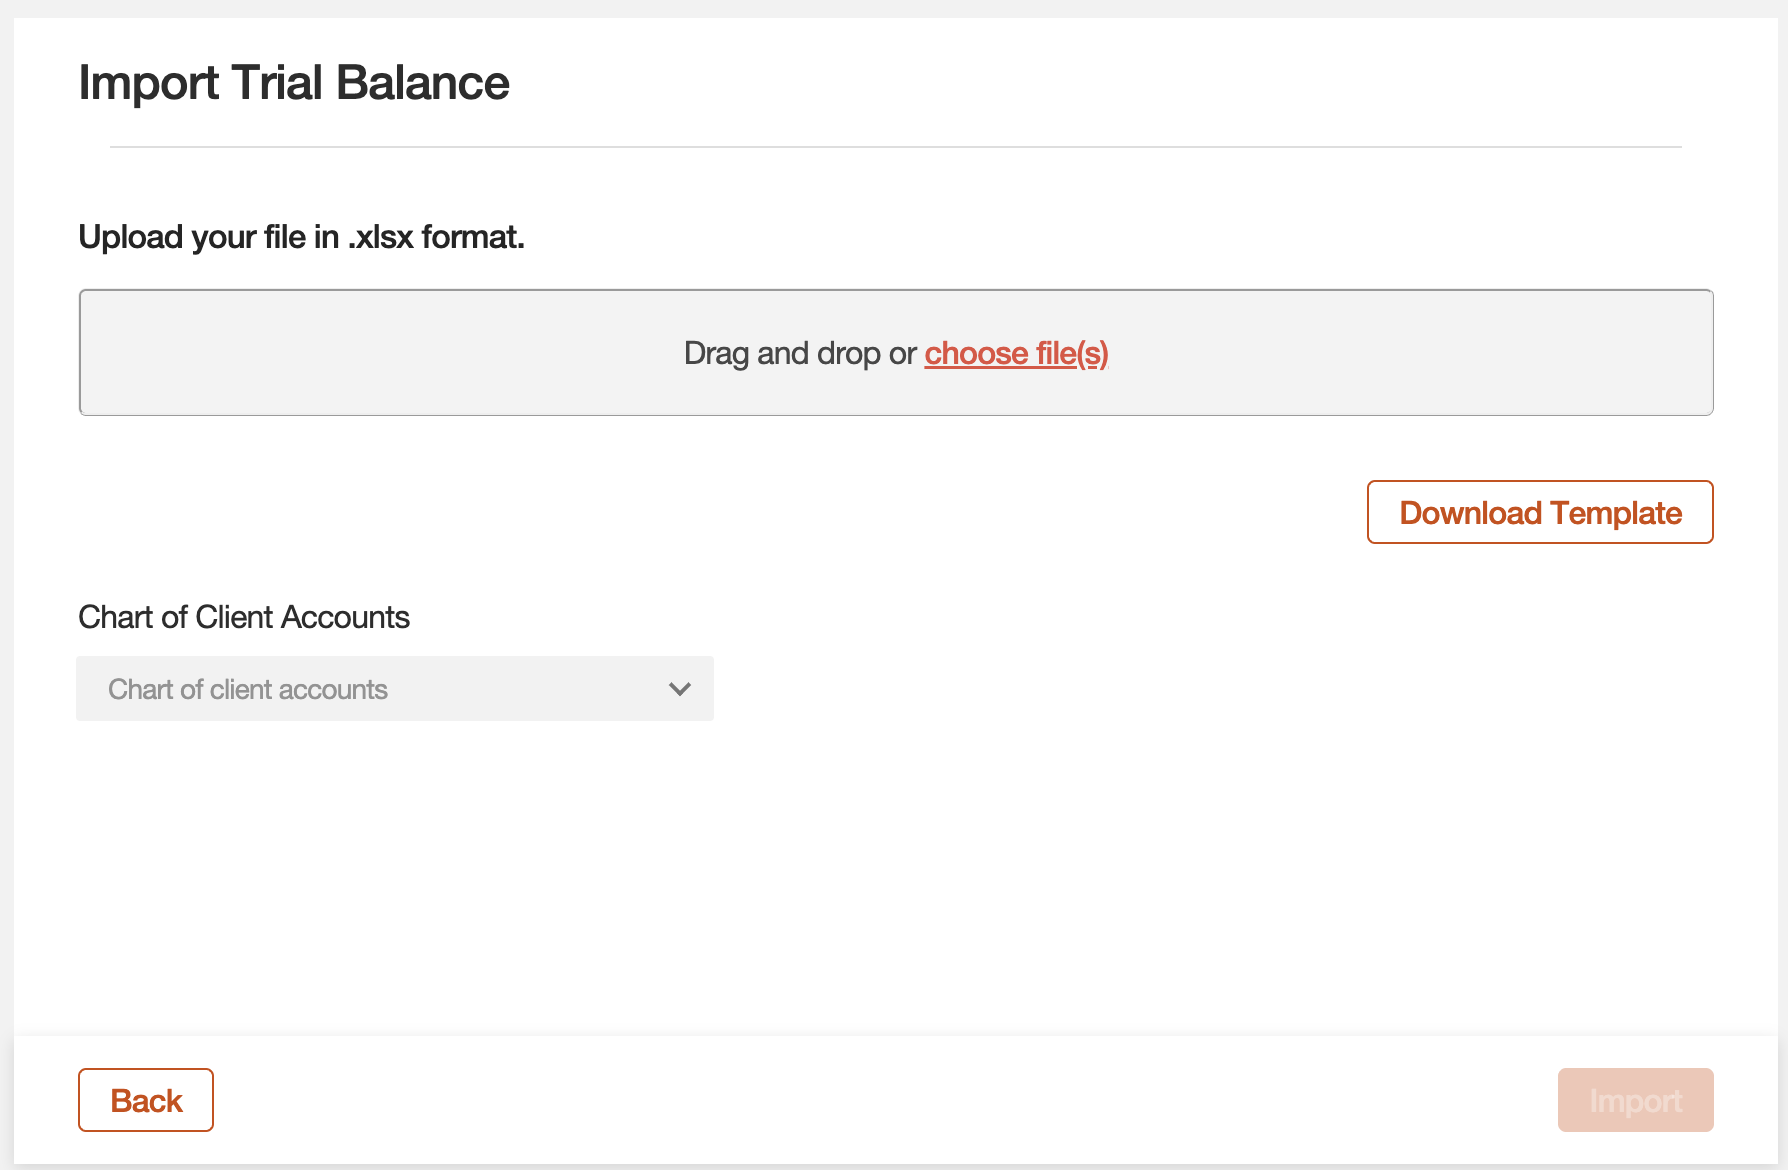
4. Trial Balance
The final setup step is to import the actual trial balance data (the account numbers and their period-end balances.
The process is identical to the COA and Entity imports:
- Navigate to the "Trial Balance" section.
- Click Download Template.
- Copy/paste the client's trial balance data into the template.
- Import the completed file.